Monday, April 30, 2012

Quick braised hearty greens

How to shop for, prepare, and love kale and collards.

Our winter vegetable share has ended, and our summer share has not yet begun to produce. The winter farmer's market, where I was getting some early salad and braising greens, is over and the summer market will not start until next month. I find myself more often at the supermarket and the co-op, choosing from among the imports. Even my potatoes and cabbage are being shipped from California.

Butter paneer masala over rice with a side of kale
There are spring foods, and I'm glad to add them back into my diet: raw milk returns, including the locally made cheese that I make into butter paneer masala.

When the asparagus comes in, I make it every other meal. But mainly, spring is still about living on reserves of starchy vegetables, meat, and grain put by the year before. I think a green vegetable is necessary, too. In winter, we eat more cabbage in the rotation, and in summer, there's more green salad and a lot less cooked greens. In spring, when I run out or asparagus for a minute, it's back to the leafy greens.

I like kale and collards because I can prepare them simply, and use them interchangeably in other dishes or as a simple side. They're the foundation of a breakfast of lightly fried eggs over greens, and go into stew or beside a chop for lunch or dinner. While it's traditional to boil the hell out of them, they don't need to be cooked long to be thoroughly cooked, and they're also good just barely steamed. You can even eat them raw as salad, if you shred them or they're young and tender enough. Some foods we eat year round, and leafy greens are among them.

The dark leafy greens, along with other coles and green vegetables, are deserving of their own food group. The coles include cabbage, kale, and collards, as well as broccoli and Brussels sprouts, and other, non-cole  leafy greens include mustard, calaloo, and dandelion, though these are by no means exhaustive lists.

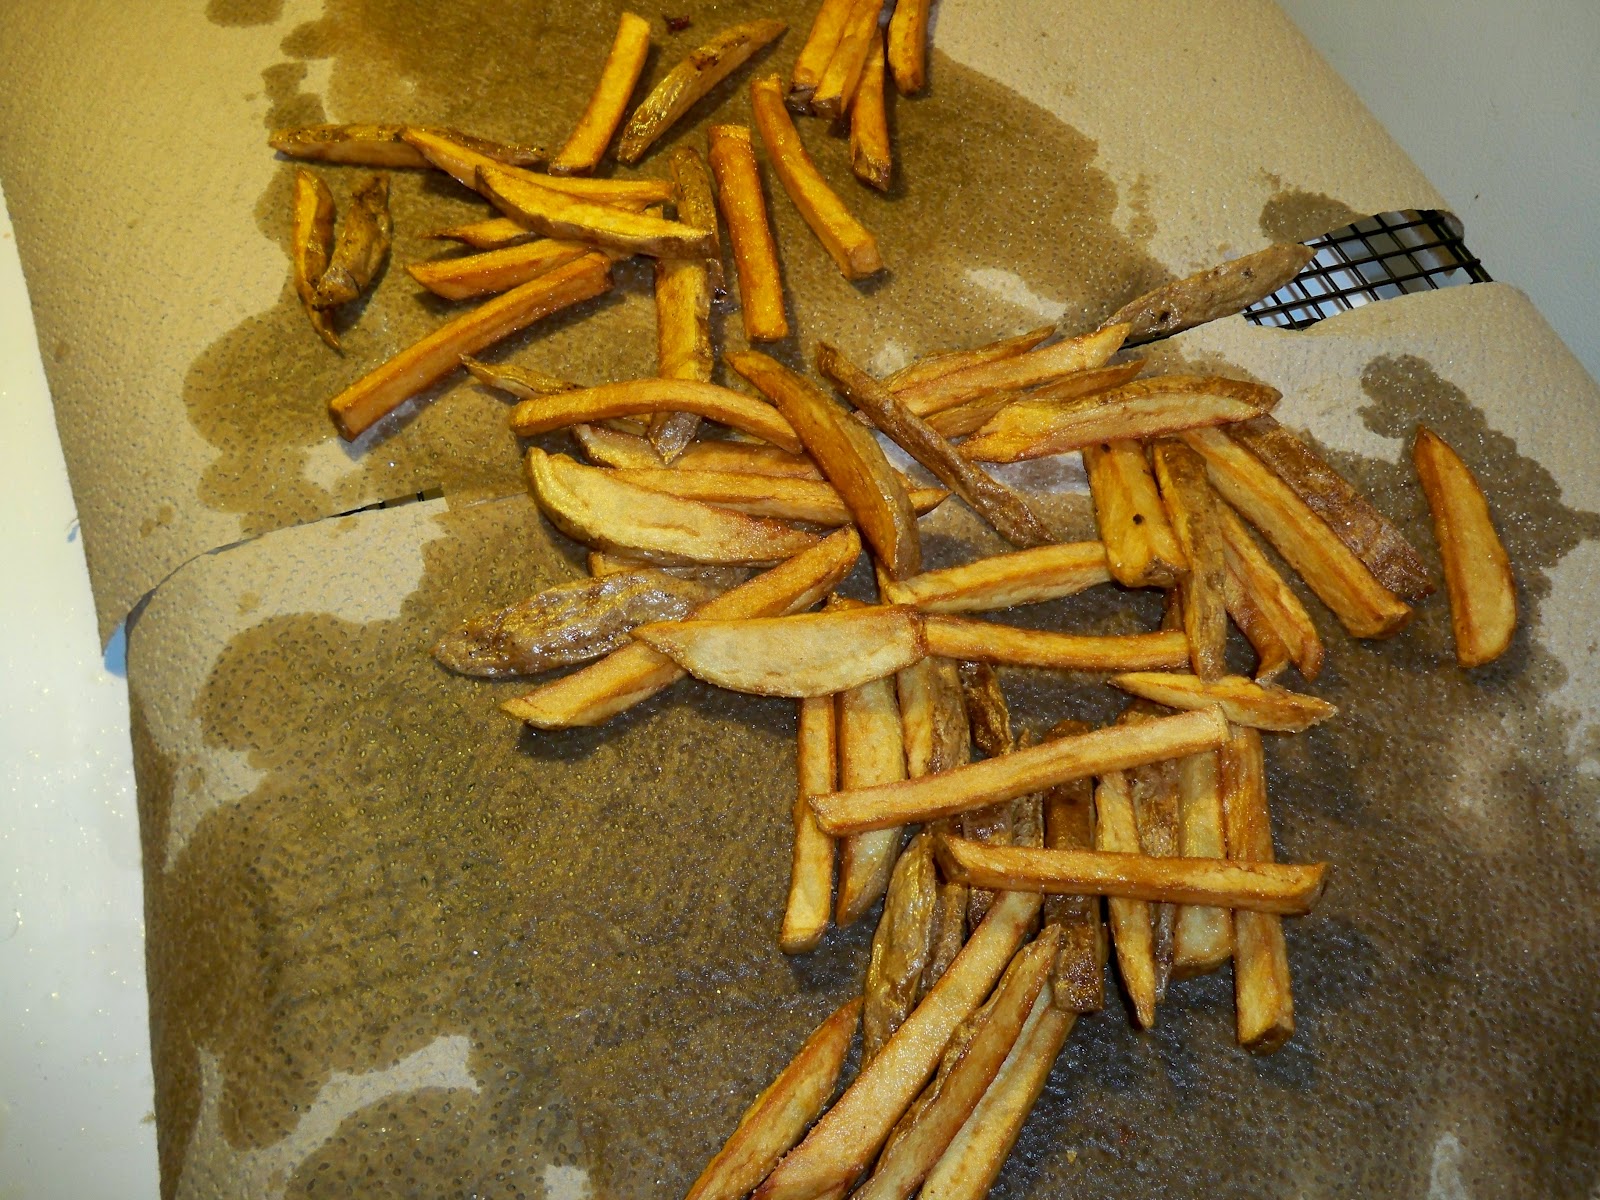
Oven-baked suet fries and buttered,
grilled asparagus pair with
mustard-brown sugar glazed salmon.
I fall back on a few ways that I will prepare dark green leafy vegetables. This is a practice for braising simple and flavorful greens that go with anything and everything.

How to prepare dark leafy greens:
  1. When you're purchasing collards, especially, make sure the leaves are crisp and fresh, not wilted and sagging. Avoid collards that have many tears or marks on them from insects.
  2. To wash them, fill your sink halfway with cold water and gently swish and rub the leaves in the water. Rub both sides of collards leaves lightly under the water to remove residue: even organically grown greens have soap and dirt on them. (If this seems like too much trouble, consider that organic, ready-to-eat, pre-washed greens are washed with a chlorine bleach solution, and are sometimes recalled for spreading infection instead of destroying them.) Shake them dry.
  3. Inspect the leaves for bad parts to remove: any place that is wilted, brown or black, or otherwise shows evidence of insects having eaten it. Look for the eggs of insects that are sometimes found on the underside (the matte, light green side) of the leaves, and tear out these parts of the leaf.
  4. Cut or tear the thick parts of the stems from the leaves of collards and kale.
  5. Tip: If you're feeling really thrifty, you can chop all but the woodiest stems and start them in a braising liquid, then add the chopped leaves near the end.
  6. Gather the leaves into a roll or pile and slice them. A very thin slice looks elegant and is a nice texture under something delicate like a fried egg. A big, thick slice goes well with something like sausage or potatoes.
  7. Start some fat over medium-high heat in an iron skillet: at least a tablespoon or so or olive oil, butter, or bacon grease. Add a little thinly sliced onion, some red pepper flake. When the onion is lightly browned, add minced garlic or ginger if you like.
  8. Add the greens in large handfuls that nearly fill the pan. Move the greens around, cover if necessary to get the greens to wilt down. Salt what's in the pan, then add more greens. When all of the greens are in, add a liquid: just water is okay, but wine can be nice, and stock is my favorite. You only need enough to steam the greens: about a quarter of a cup will do. Cover and turn the heat down very low. They'll be ready to eat in ten minutes or less.
If you're in a hurry, skip the aromatics and just wilt the greens in some hot fat.

If you're really in a hurry, just steam the greens in stock.

Tuesday, April 10, 2012

Rendering beef fat for perfect French fried potatoes

How to transform a lump of animal fat and some dirty tubers into that crisp divinity, the perfect French fry.

Rendering beef fat is a smelly business. It looks and feels like stinky candles. It takes hours to render any quantity of raw cubed fat, and the odor is unpleasant and weird. But it’s worth it. Once you’ve rendered a bunch of suet, you’ve got a very hard, creamy cooking fat that’s good for all kinds of uses.

When you cook down balsamic vinegar into a syrup, the harsh part aromatizes. It’s in the air. I went to my girlfriend’s house when she was making a reduction, last week, and the wave of vinegar hit me in right the nose as I walked in. But then I ate the balsamic reduction---a little scoop of the gooey stuff on a pear slice had me agog with wonder---and realized that the harsh part was gone. Same with rendering fat. Like the last time I made a big batch of fish stock, I get some criticism for stinking up the joint making these preparations, but zero complaints about the food that results. 

Rendering removes the impurities. The nasty smells cook off, and there will be some chunky stuff left over that you’ll throw away. What you keep is smooth, hard, and a whole lot better for you than shortening or vegetable oil. It’s prized for making flaky pie crusts, crispy batter-fried fish, and the kind of French fries that built a fast food empire

I wrote this week on my other food blog, Tin Foil Toque, about how McDonald’s used to use a mostly-beef fat solution for their famous fries. They still use some kind of animal product to flavor their potatoes, even after switching to vegetable oil for frying, because that is what their fries are supposed to smell and taste like. If you’ve fried fresh potatoes in oil at home, perhaps you were disappointed that the result was not as mouth-watering as what you could get at the drive-through. However, if you make your own fries at home using tallow, you can get the ur-experience that McDonald’s used to deliver, and which has become nearly unknown in its original form: French fried potatoes fried in beef fat. You can still get the modern, industrial version: genetically modified Russet Burbanks coated with “natural flavors” and fried in the oil of genetically modified grass seeds.

Or, if you prefer your food to nourish you instead of kill you, if you are sufficiently motivated, and you have access to high quality fat from pastured cattle, you can make the most perfect fries ever: crisp, not greasy, with lots of umami, and best of all, good for you. 

How to render beef fat:

Start with the best quality fat you can get. Trimmings from roasts and steaks can be saved in the freezer until you have enough to work with, though I usually get it in large lumps of 1-2 lbs, frozen, from the slaughterhouse with my beef order from local farmers. Pastured cattle makes the healthiest fat.

Raw beef fat is thick and waxy.
Use a very sharp knife for handling fat, as it’s slippery and contains tougher tissues within it that offer more resistance.
  1. Trim any visible meat or other tissue and throw it away or save it for stock. Cube the fat into roughly one-inch cubes or, for faster results, mince the fat. 
  2. Roast the fat in a casserole dish, roasting pan, or Dutch oven at 250° F. Open or closed both work, but a closed dish stinks a lot less. 
  3. Stir or shake the pan a few times during the day. If you don’t chop the fat finely, this can take several hours. Even if you do, it can take a couple of hours. 
  4. When you’re no longer making any progress (the stuff that won’t dissolve isn’t getting any smaller), call it quits. 
  5. Strain the fat through cheesecloth into a glass jar. Throw away the solid parts. The rendered fat will keep in your fridge for at least a month. You can also firm it up in any sort of mold, like in ice cube trays or muffin pans, then freeze the molded chunks so you can grab a bit of tallow any time you need a bit of tasty cooking fat. 

Pigging out on ribs and fries

The first thing I did with my freshly rendered tallow was to deep-fry French fries. I admit that I wasn’t entirely sure that tallow would give good results, because I hadn’t cooked with it before. Would my potatoes taste like my house smelled on rendering day? Would they be soggy?

Friends, they were perfect. The reason the potatoes get so crisp is because the fat has so little moisture. Compare the texture of refrigerated beef tallow to butter, and you start to understand what makes that delicious, suet-flavored crispness in fries, but also in other foods I’ve eaten: empanadas are best made with suet, now that I recognize the effect.

I made ribs with the fries, and some cole slaw, and we ate such a pig-out meal, I felt like I was completing a religious rite, it was all so carefully sourced and prepared. This is what I mean when I say that I make comfort food. French fries and pork ribs are supremely familiar, comfortable, and delicious, and yet also a little special. My mother didn’t make these foods; we got them from Chinese take-out and from the fast food drive-through, and later, when I was older, from cheap barbecue joint holes in the wall I found with my friends, and expensive hipster dives in cities, where they fried the potatoes in duck fat.

This is food that I’ve enjoyed most of my life, and for most of that time, it was both mysterious and dirty: bad for me, irreproducible. Now I know how to make pork ribs (I’ll share that recipe with you another time), and how to make fries. I know how to transform a lump of fat and some dirty tubers into the food that has become more American than apple pie. Not only do I know how to make the food, but I know how to make it so that it doesn’t make me feel sick or guilty, or wonder what was in it. I know what distinguishes the pig in my freezer from the one at the closest supermarket, my fries from McD’s. I know which parts are miracle, and which are cheap tricks.

Now, it is medicine food.

Real, good food is better than magic.

How to make French fries:

The secret to crispy fries is twice-frying. Slice your potatoes as thin or thick as you like them. I favor a steak-cut thickness, and keep the skins on. Get your heavy pot of fat nice and hot, and fry a small quantity of potatoes at a time to keep the temperature steady. Fry them once for five minutes, then scoop them out and let them drain on paper towels. Let them sit until you’re almost ready to eat. Then fry the potatoes again in batches, one minute per batch, and drain again on paper towels. Salt them right after they come out of the fat the second time. Serve immediately.

After frying, strain the fat while it’s still fairly warm. Let it cool and put it back in the fridge. Unless you’re frying fish or something else really smelly, you can generally strain and re-use the fat for frying. I use masking tape and a Sharpie to label anything I put in the refrigerator, and in the case of rendered beef fat, I will also note what I’ve fried in it.

Oven fries

Frying takes a lot of fat. And frankly, my husband and I both prefer the taste and texture of roasted root vegetables. Fries can be a fun treat, and sometimes they’re just what I’m craving. But for the most part, I’m much more likely to roast up a pan of sliced potatoes with a hearty dollop of beef fat (which I take right out of the fry-fat jar). It takes longer to bake---about an hour on 350°, turning them every ten minutes---but is less trouble, doesn’t tie up a quart of fat, and tastes just as suet-y and crispy as the deep-fried kind.